Would you like free online content filtering and web security? Maybe you have kids and don’t want them viewing adult material? Maybe you are concerned somebody in your house will click the wrong thing while on the web? Well OpenDNS offers this type of free security for home use. This post will walk you through how to setup your free account.
NEW — Here is a youtube video covering everything in this post
OpenDNS research is based on around 80 million DNS requests a day, which makes up around 4% of the world’s DNS traffic. This makes it pretty effective at identifying not only malicious websites but all associated websites using the same DNS. The free account protects anybody behind your home network gateway. If you want to extend that to multiple networks, mobile devices and laptops, then you could consider a paid account. That means OpenDNS would be protecting the devices regardless where they are at in the world if you went the paid route.
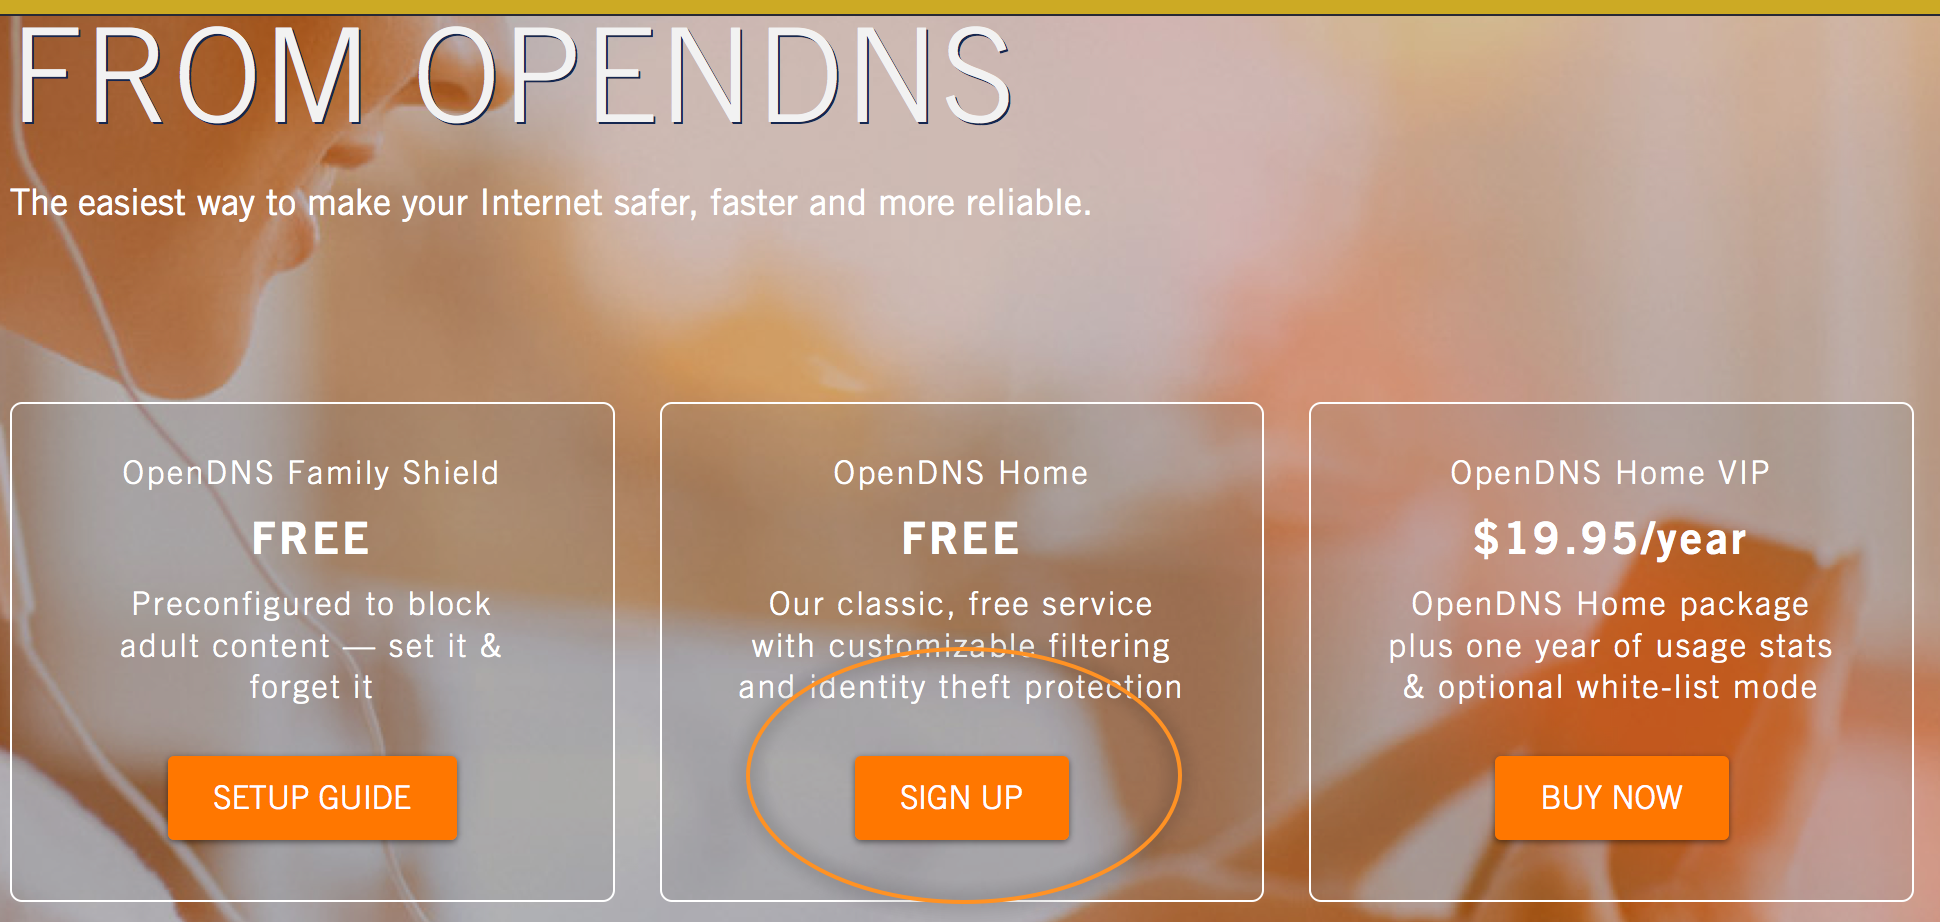
To create a free account, go to OpenDNS.com and click the Personal tab. Next click to sign up for a free OpenDNS home account.
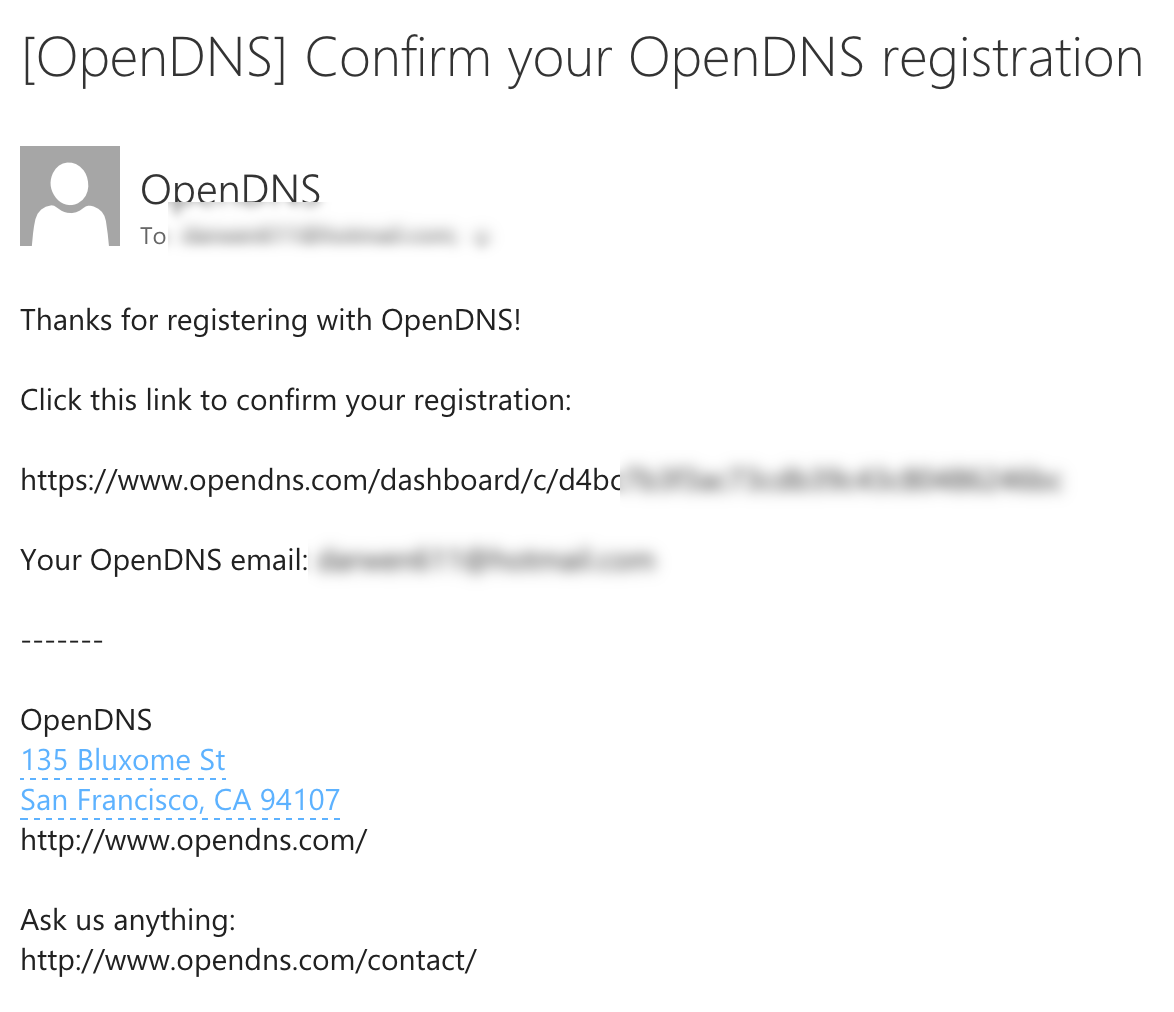
 Fill out the form to create your account. You will get a email sent to confirm your new OpenDNS account.
  Now you can log into your free OpenDNS account. OpenDNS will ask you to register your network. This means you need to tell OpenDNS what network it should be monitoring. Before doing this, you need to point your network’s DNS at OpenDNS, which is 208.69.38.205. Most likely you will have to log into your gateway router to update this.
Once your network is using OpenDNS, you are ready to register your network. Click the settings tab and click the add a network button. You will need to put in your network IP address, which is shown at the top of the OpenDNS GUI. You can also verify it by going to http://ip-lookup.net/. Once you do that, you should see the screen below where you can select your network you just added.
 After selecting your network, you will see the configuration page. The first category is web filtering options. OpenDNS has default levels you can select however you can also click customize to see the category options. The next two screenshots show the default levels and customization options.
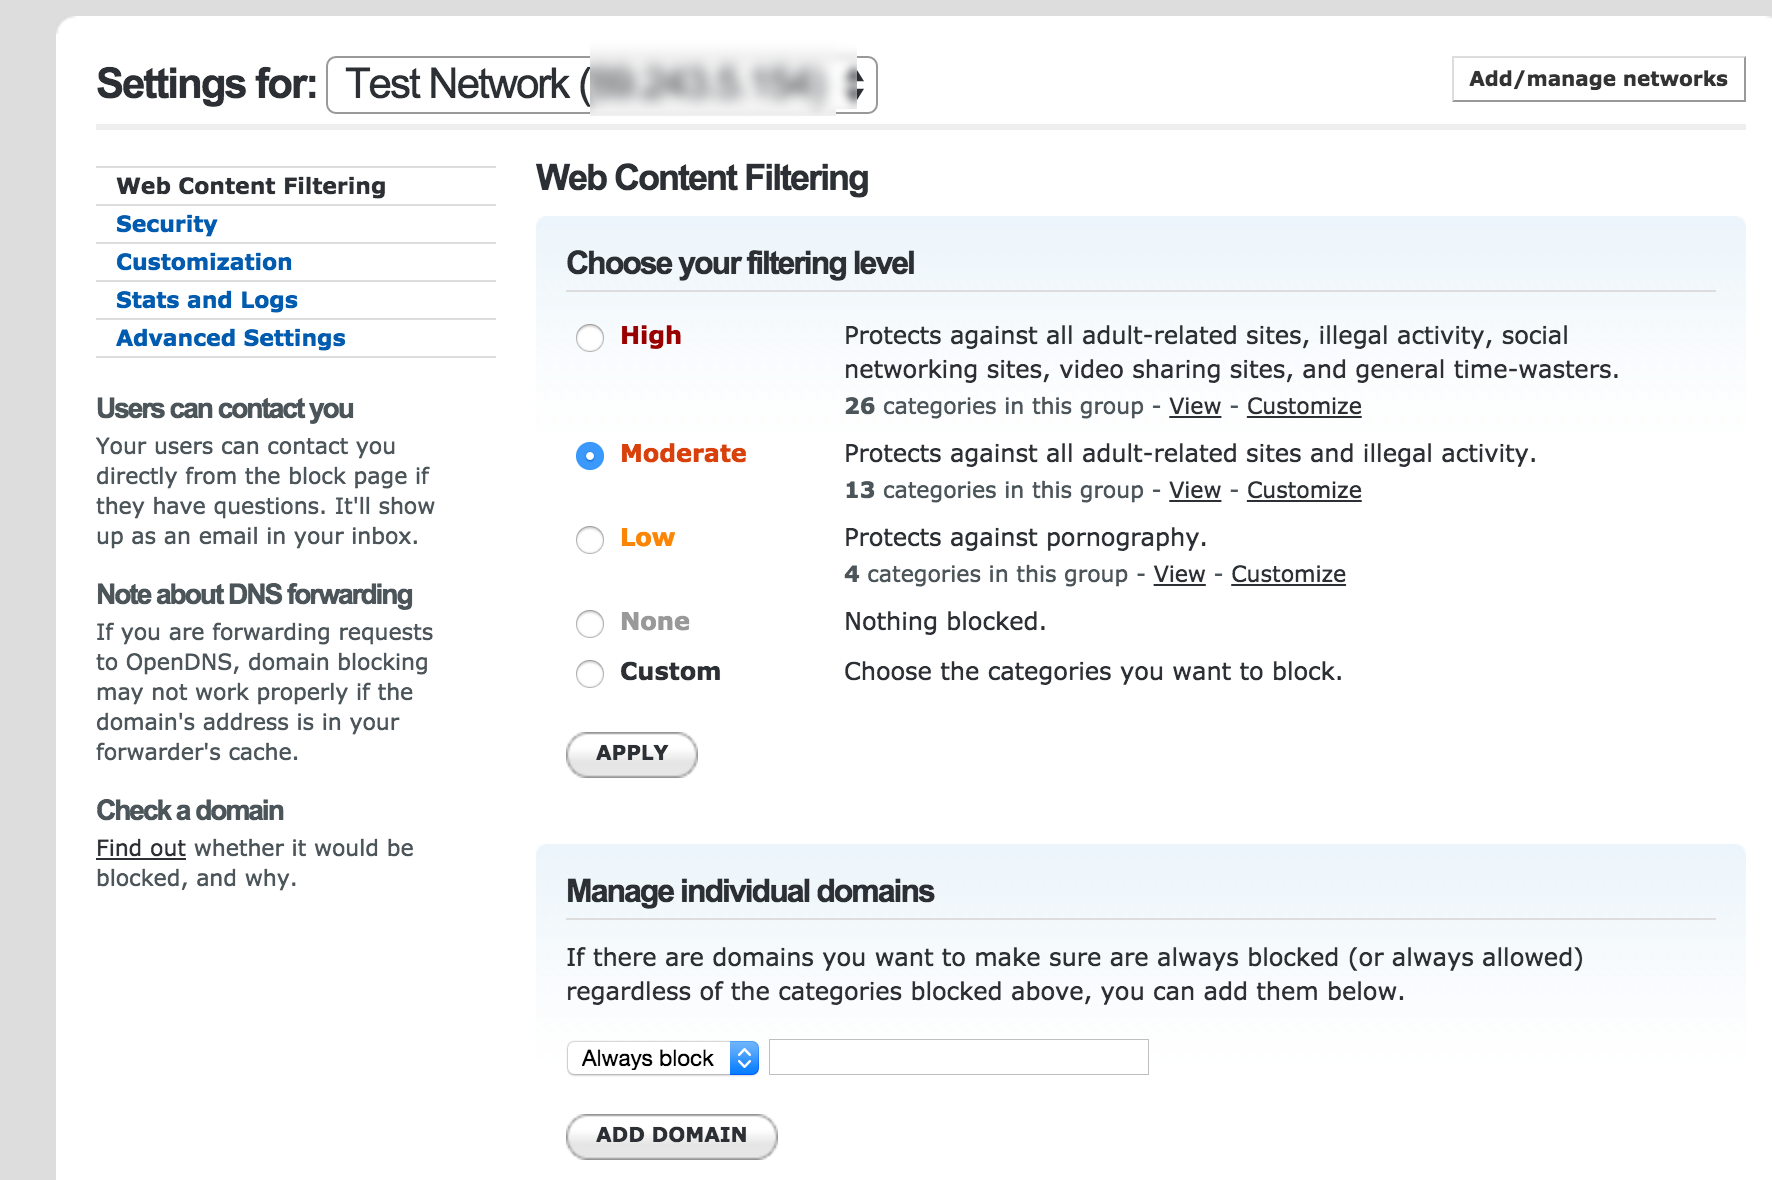
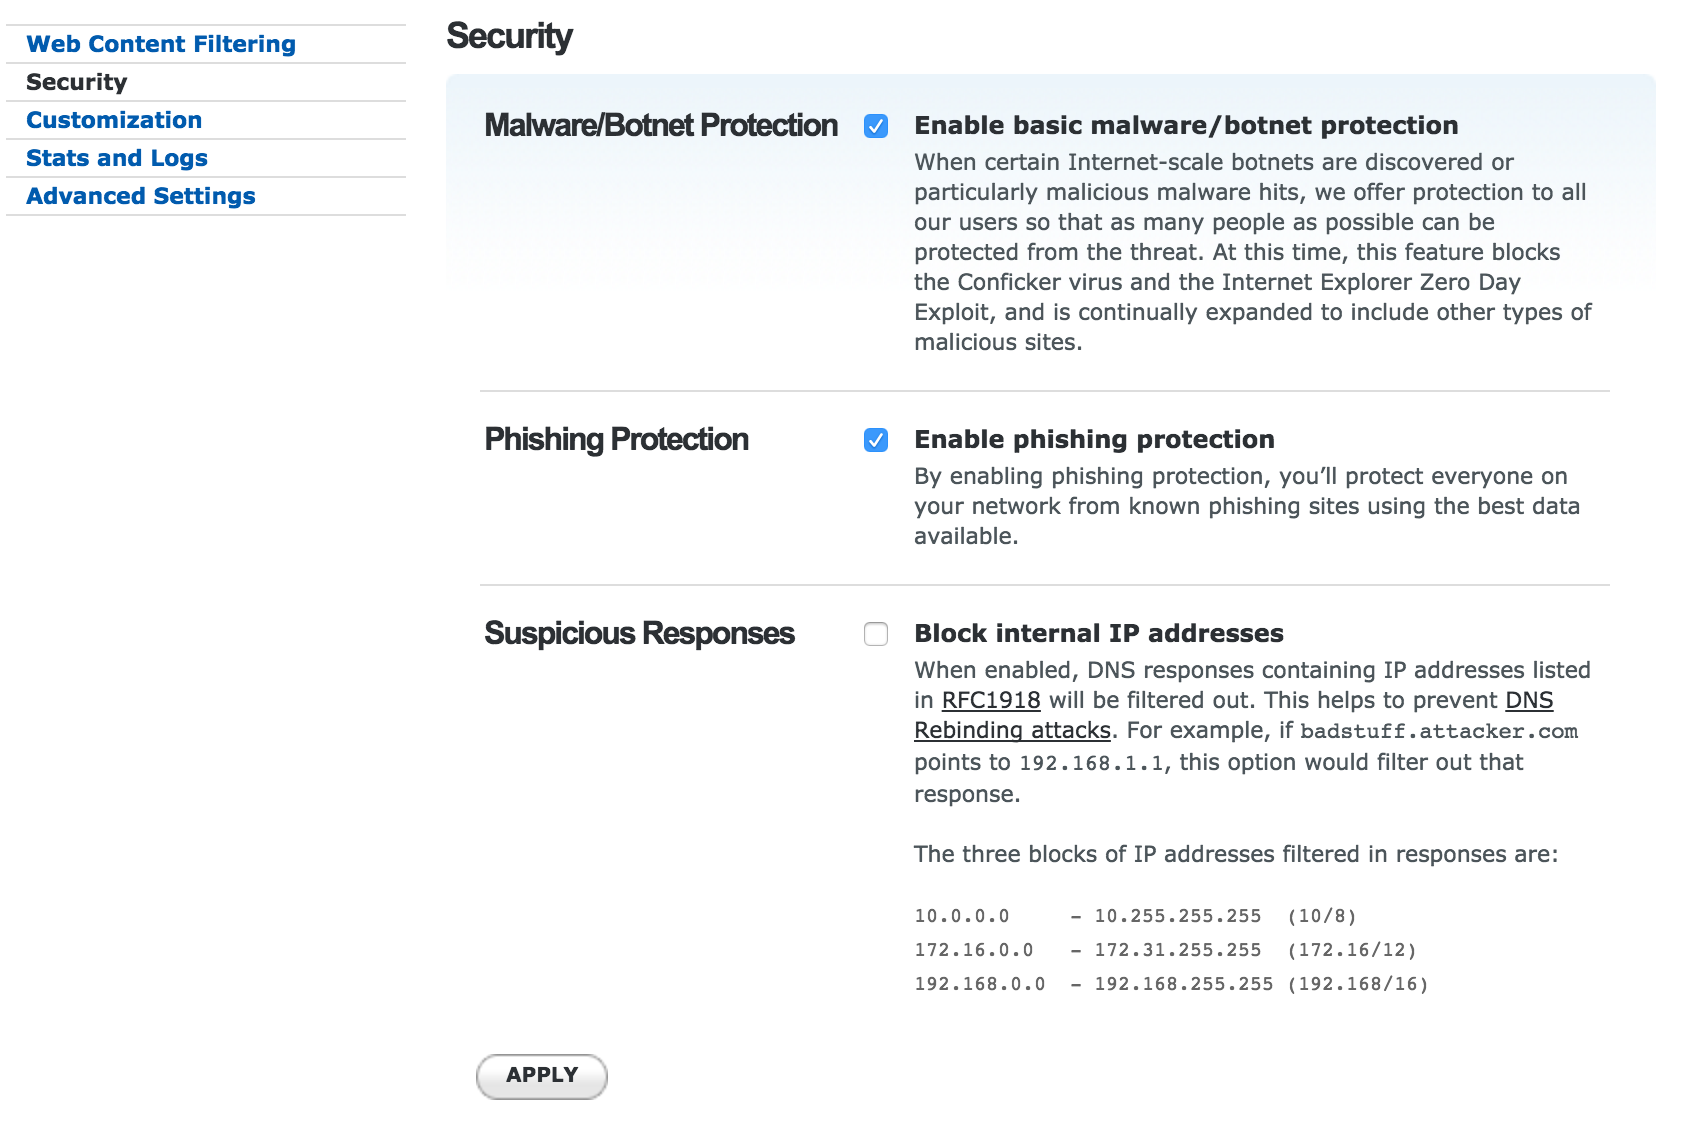
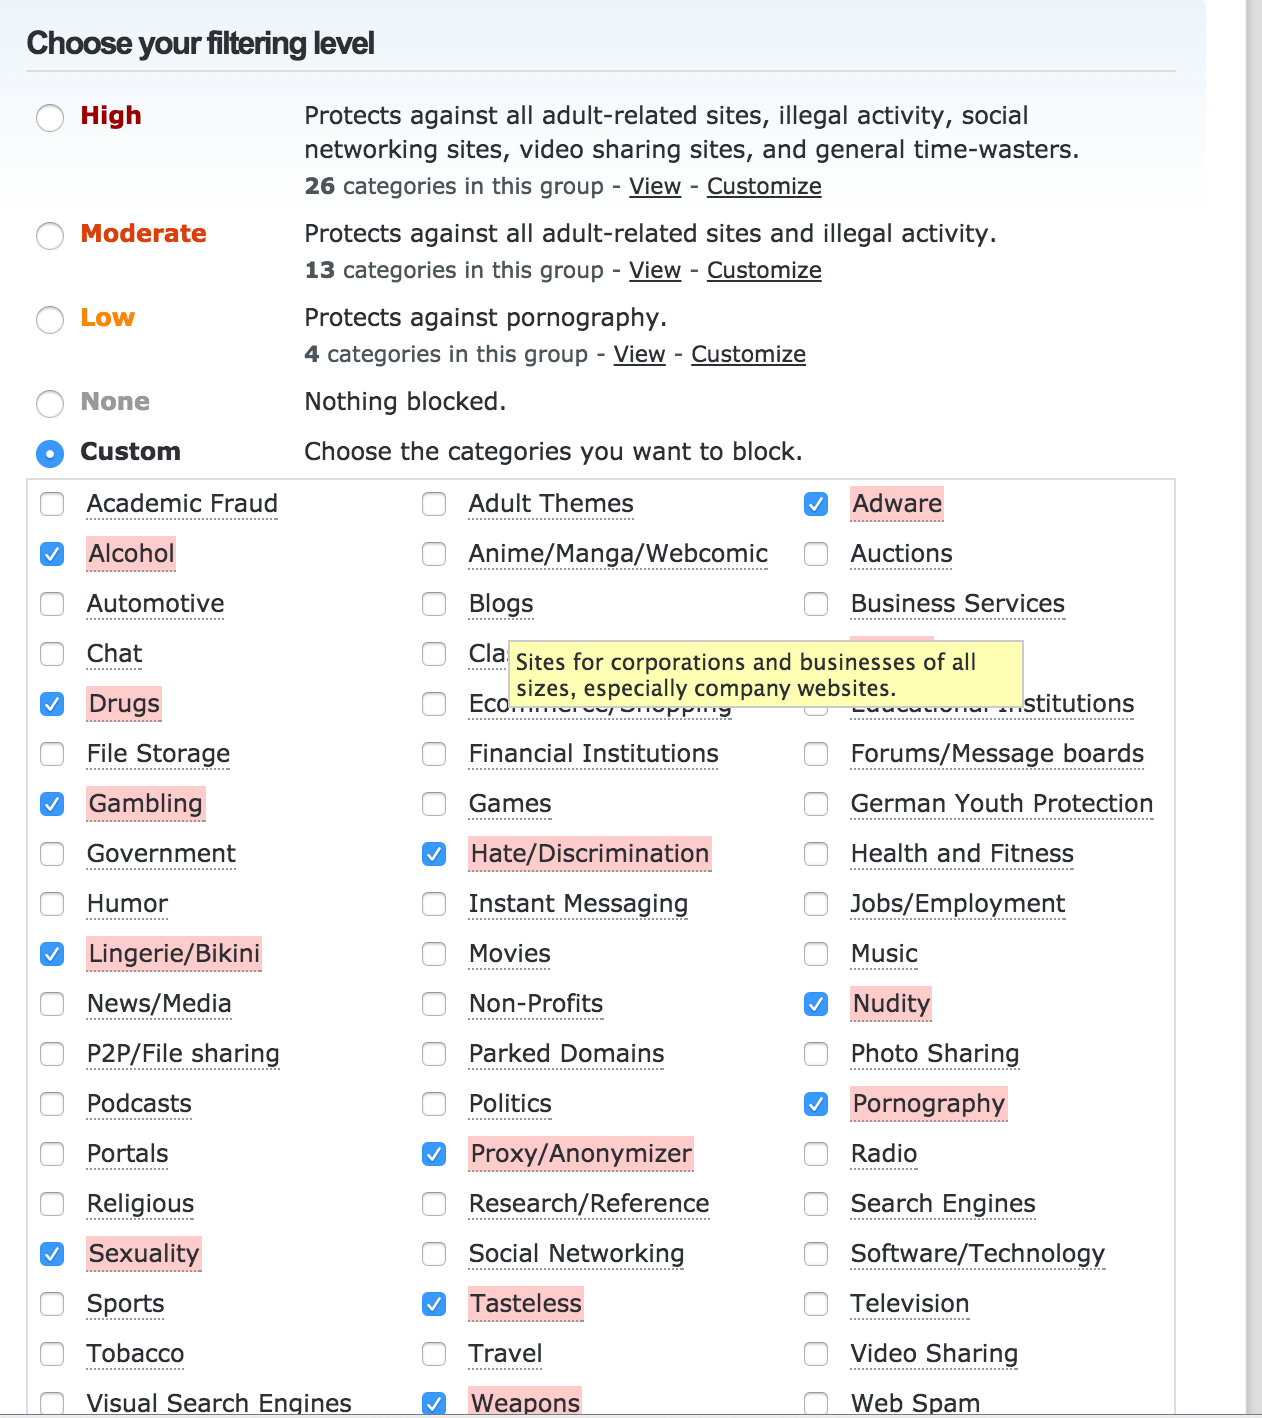 The next option is for enabling security protection. These features can be enabled by clicking the one you like as shown.
 The Customization section is the message that is shown when OpenDNS blocks a security or web content filtering violation. Stats and logs permits OpenDNS to store data for reporting purposes.
Once you choose your settings, you need to validate your network. This is done by clicking the confirmation email that was sent to you once you added the network. If you lost that email, you can resent it using the link below.
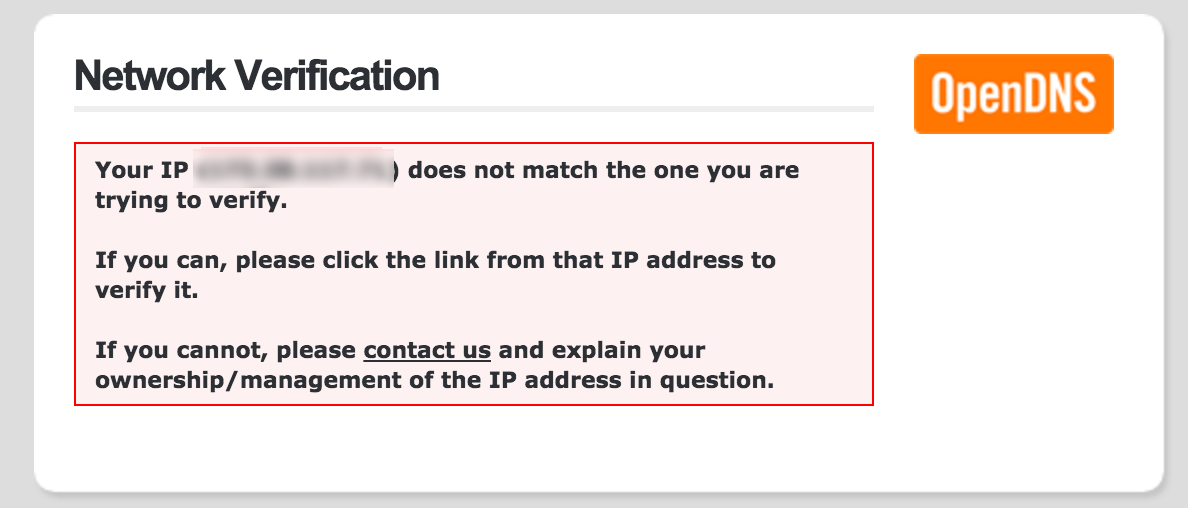
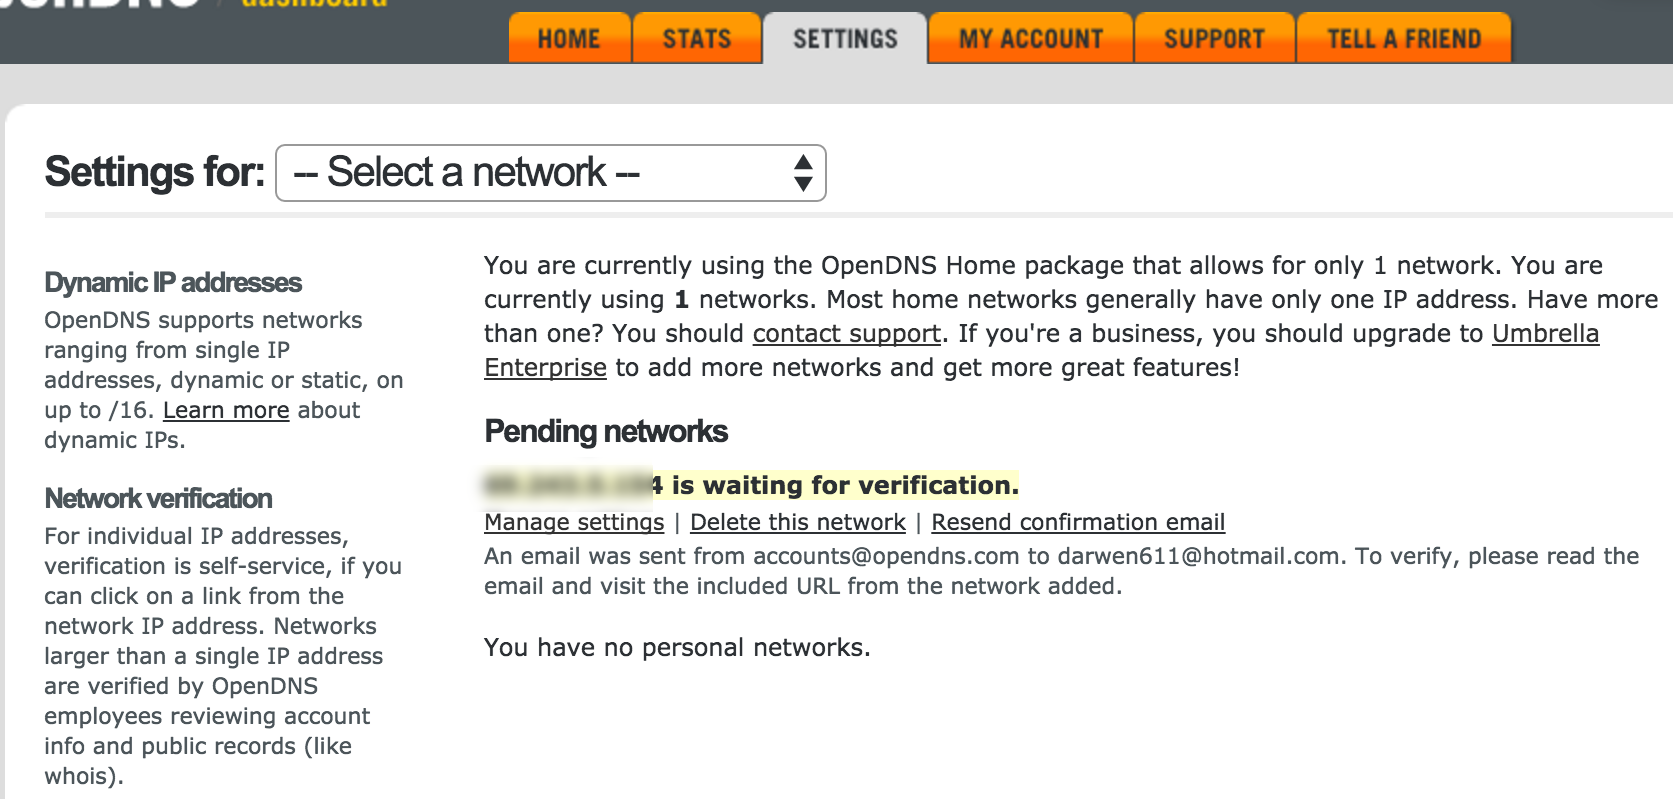 You must be behind the network you are protecting to validate things. If you are at work or on another network, you will get the following error stating OpenDNS is not seeing you behind the network you are looking to add. If you are behind the network you are looking to protect, you should see a success message and start to see stats under the stats tab.
  Thats all there is to it. The entire process should take 5-10 minutes and give you a large boost in security. Feel free to share this with your friends so they can take advantage of free web security.


