I recently posted about Hak5 releasing its latest tool they are calling the Bashbunny. For those familiar with their other tools, its like a combination of the LAN Turtle and Rubber Ducky. In this post, I’ll give a first look and run the same attack against locked computers as I did with my LAN Turtle using the responder module posted HERE.
For those new to these tools, the Bashbunny is a small USB device that abuses the concept of drivers. Unlike Hak5’s other tools, this little guy emulates various types of USB devices such as Ethernet, serial, keyboards, flash drives and so on tricking the system to give it access to data. All you do is use a script from the Bashbunny github or write your own in any text editor software, copy that code to a folder on the USB and plug it into a victim’s system.
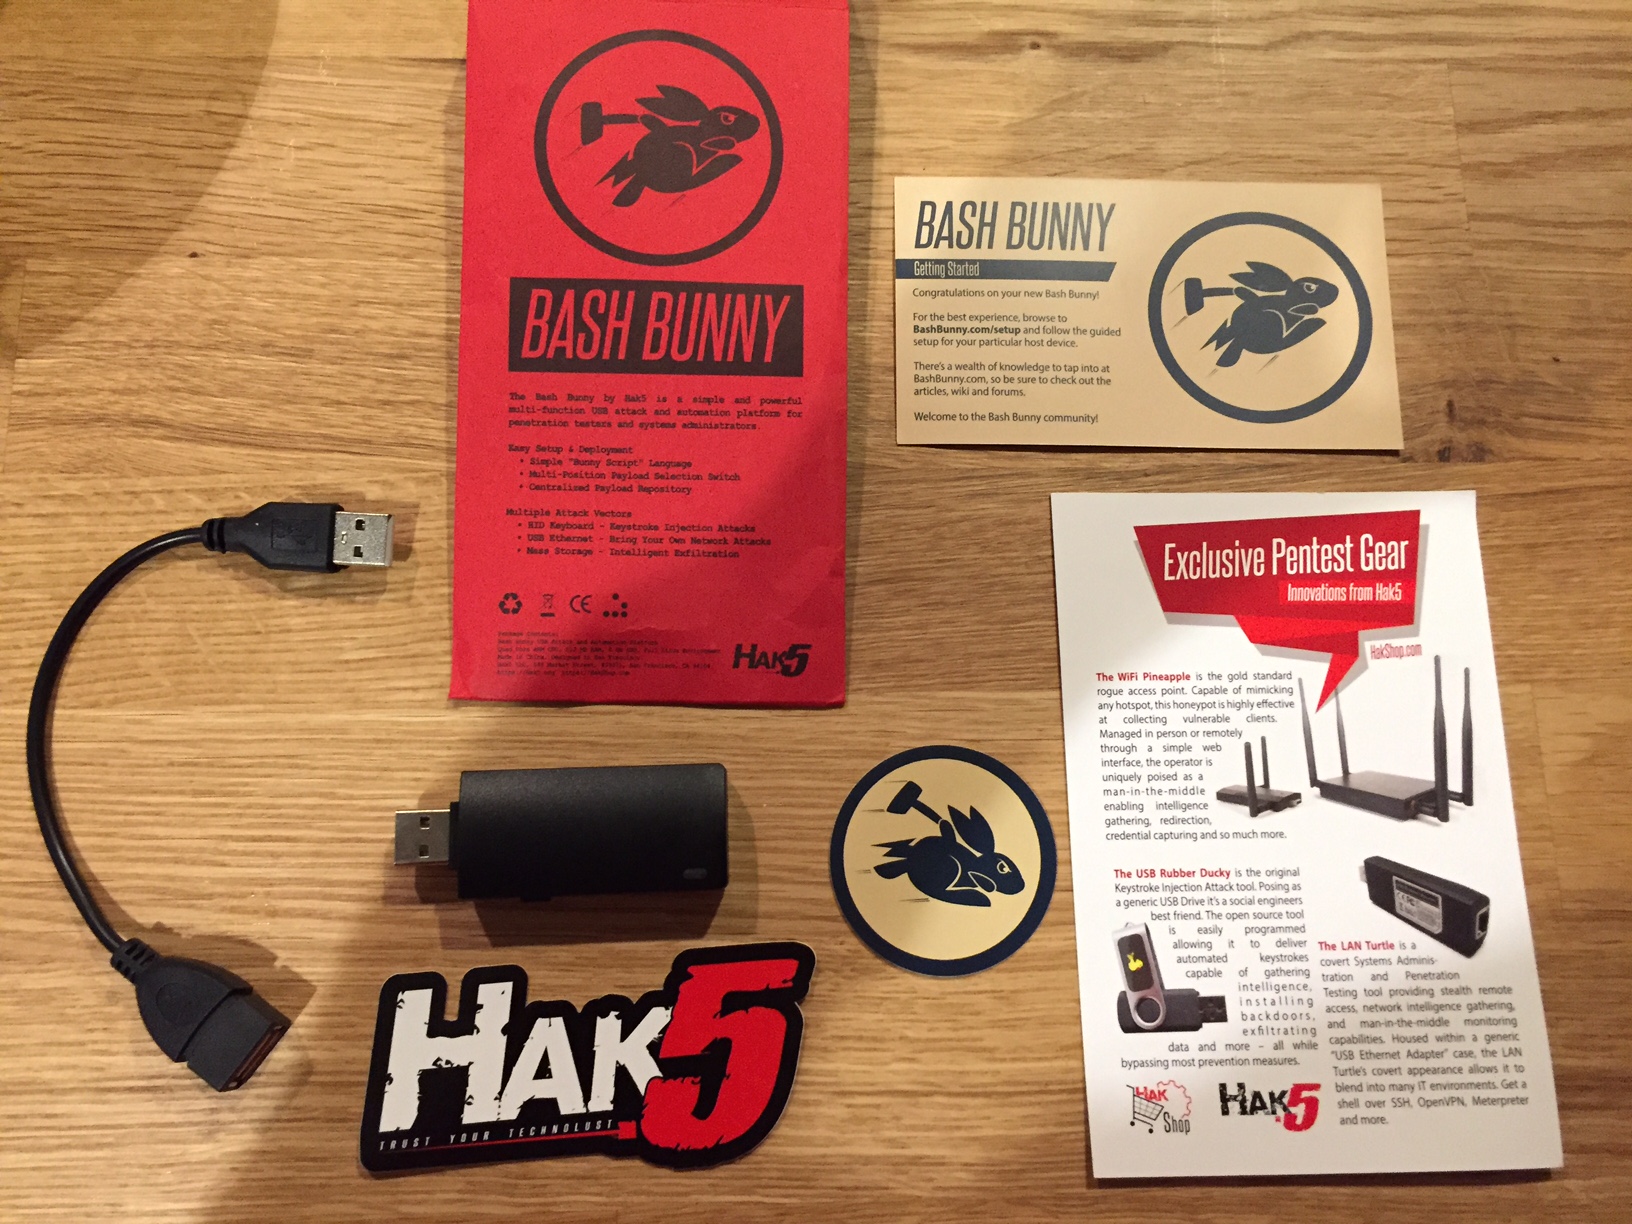
I ordered mine from hak5 and it took about a week to receive it. When I received mine, it looked like Darren Kitchen personally walked to his local UPS and mailed it … just kidding.  This is what came with it. Basically stickers, the tool and cable.
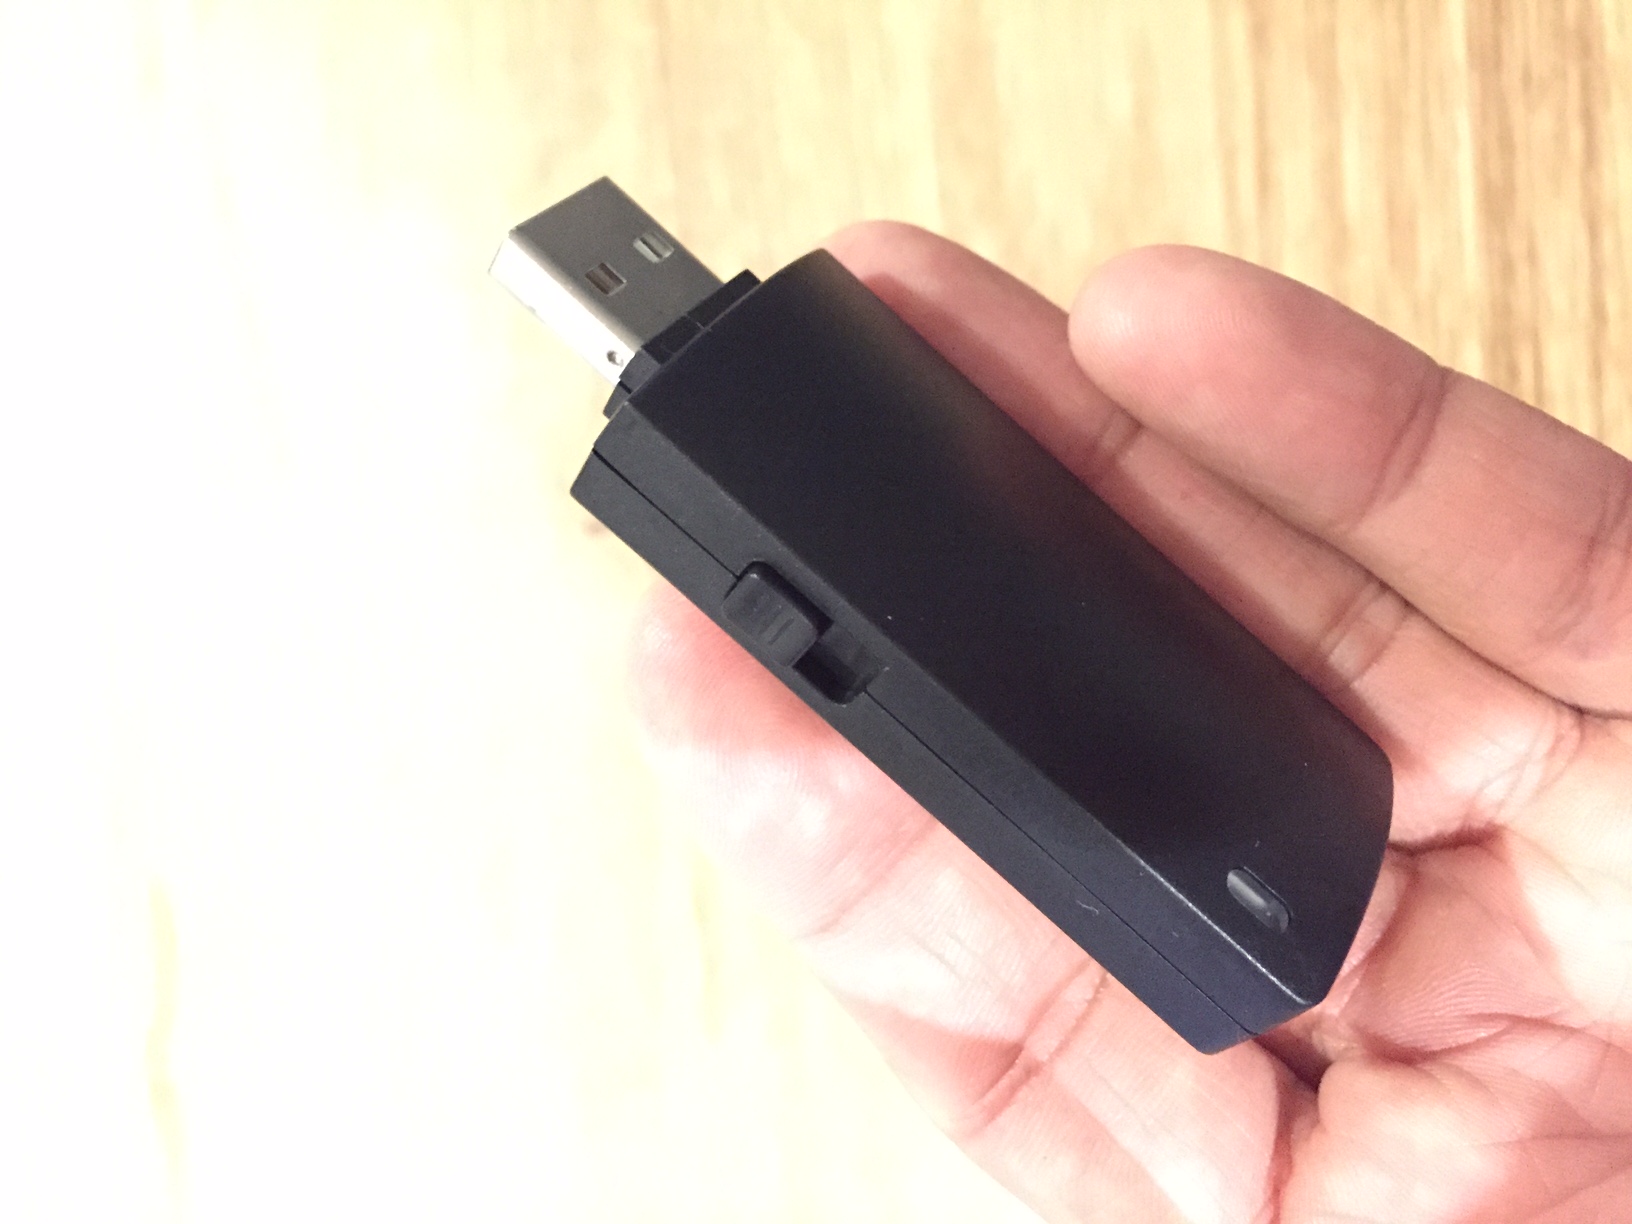
 Working with it is pretty easy. On the side are three settings. The one closest to the USB plug sets it as a USB drive (as shown). The other two settings are used to set it to run a payload.
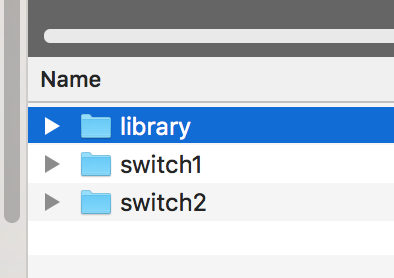
  When you plug it in as a USB drive, you will see some basic info and a payload folder. Clicking the payload folder will bring up two folders called switch1 and switch2, which are were you place the payload code. The third folder is a library for storing payloads. I spent time downloading all of the attacks from the gethub page into that library folder. This way I can just copy from there and drop it into one of the switch folders. The gethub page is found HERE. There isn’t that many attacks available now however more are coming for sure. Also its pretty easy to use any of those as an example to create your own. For example, think about a protocol you would want to see if a machine is running and adjust the RDP checker payload to match for that protocol. Its pretty easy to figure out.
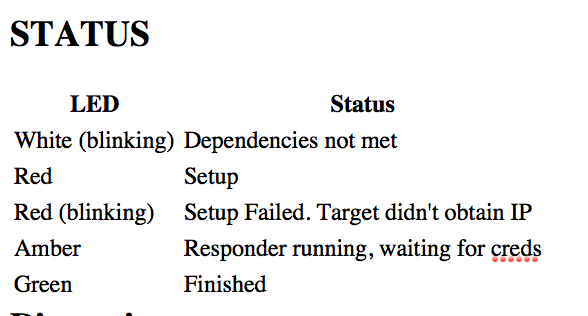
 To test things out, I used the responder attack, which is a method to steal credentials from a locked computer. To do this, I first downloaded the code from the gethub page. Next I replaced the payload.txt file found in switch2 with the payload.txt responder code. Next I unplugged the USB, moved the side switch on the bashbunny to the top most position and plugged it into a locked PC. The next image shows the color code found in the read me file that explains what you will see via the color changes. More details on this attack can be found HERE.
 Other options on the getup page are Bunnytap (its basically Sammy Kamkar’s Poisontap attack found HERE), evaluation tools such as scanning using nmap and many others. I haven’t had a ton of time to mess with the other payloads yet but what I have worked with was REALLY EASY to use and modify to my needs. Like the rubber ducky, the flexibility and possibly use cases for this are almost endless.
The tool is really new so there should be many new payloads coming over the next few months. This is by far the easiest tool to setup and use. For 100 bucks, its worth checking out. Learn more via https://hakshop.com/products/bash-bunny. I’m going to try it out in the field over the next month and will post some successful payloads. I’m wondering how this will work with IoE devices that have USB drives. More to come on that ….


I find the Bash Bunny is a very exciting tool. Especially the updates with the newest payloads are very good. Meanwhile there are also projects that realize the functions with a Raspberry Pi Zero (called Poor mans Bash Bunny).