I recently posted about how to setup a Cisco ASA CX lab HERE. I ended the last post once I had access to the ASA CX GUI via local PRSM. This post will focus on configuring CX once its operational, review the local management GUI and creating some basic policies.
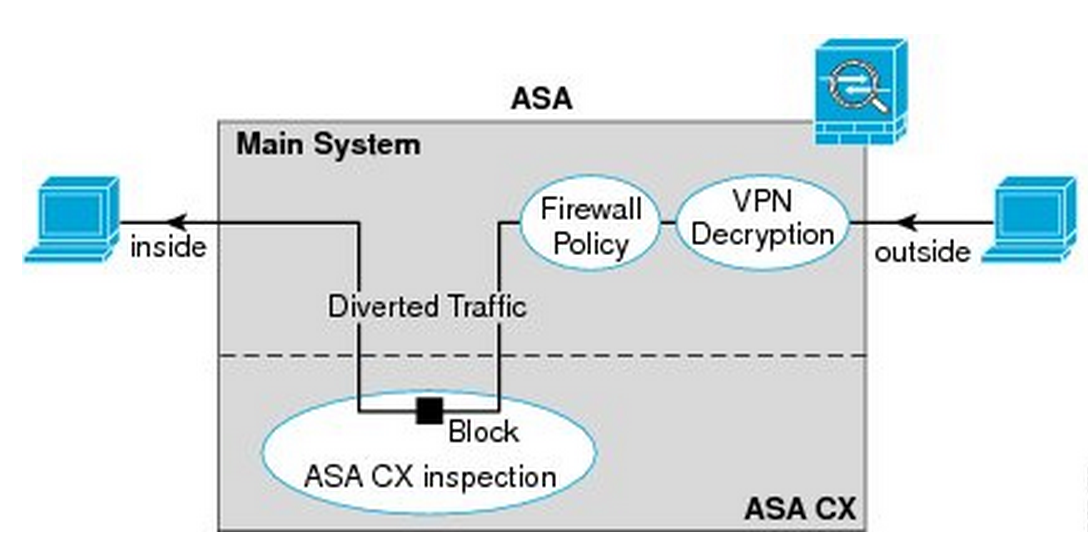
The ASA and CX module act as two separate systems exchanging traffic through policy maps. Unlike proxy-based solutions, all ports can be included in a security policy aka an Application Layer / Next Generation Firewall function. This post will touch upon enforcing Internet use policies such as denying gambling websites, viewing application layer traffic, blocking applications such as YouTube and monitoring for security threats leveraging Cisco’s global correlation engine via Cisco Security Intelligence Operations (SIO).
There are a few management options for ASA and ASA CX. The free management GUI for ASA is Cisco Adaptive Security Device Manager (ASDM) and free CX management GUI is the local Cisco Prime Security Manager (PRSM). Both ASDM and local PRSM are accessed by going to the ASA and ASA CX IP addresses. To manage multiple security devices, Cisco offers the Cisco Security Management (CSM) application however a separate external version of PRSM will eventually replace that. I’ll show external PRSM in a future post so for now all PRSM references will be locally from the ASA5515 CX module.
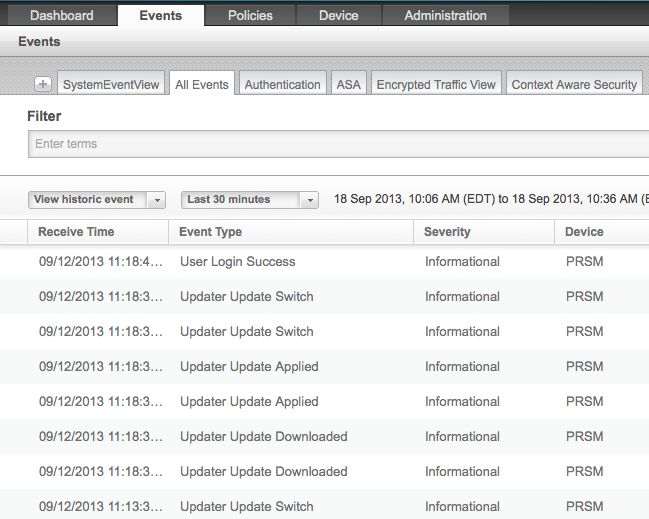
I will start off by logging into CX’s GUI aka local PRSM. If you have problems doing this, see part 1 of this series HERE. First confirm you are receiving SIO updates in CX by clicking the Events tab and looking for information such as the next screenshot. If you are not seeing this information, make sure you can ping update-manifests.ironport.com on your CX CLI.
There are different deployment options for an ASA CX lab. One option for lab only purposes is using a SPAN port mode having ASA CX analyze traffic without being placed in the data path. To make this work, the ASA must be placed in transparent mode (only through CLI not the GUI) and the monitor-only mode tab must be enabled in the ASA CX GUI (not available in external PRSM management … just local PRSM). I found there were limitations to this including policy enforcement so it’s recommended to go with a in-line architecture.
Monitor-only mode tab only available in local PSRM
My design has the ASA5515 leveraging 3 interfaces. My management interface is the default 192.168.1.1 for management only. I use interface 0 as the outside and plug a test user into interface 1 representing the inside. I use a policy-map to route all traffic through CX as explained next. I provide DHCP to the inside and PAT everything out the outside interface.
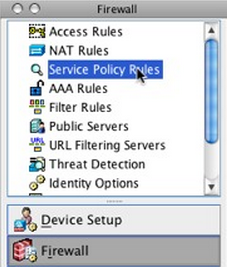
To build the CX policy map in ASDM, click on Configuration > Firewall > Service Policy Rules. Choose Add > Service Policy Rule. The first two screens are about what traffic you want to send. The third screen provides a tab for selecting ASA CX inspection. Click enable and select if you want to fail open or closed when CX isn’t working. Once you apply this policy, you should start seeing traffic in the CX GUI for any device plugged into your inside network. More info on the basic CX setup can be found HERE.
Creating a Service Policy Rule for CX in ASDM
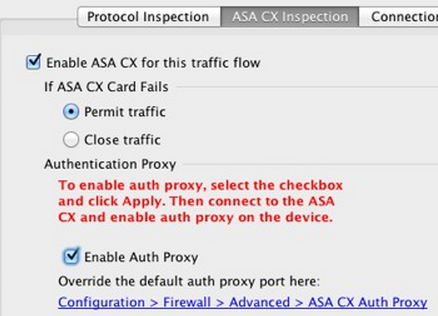
ASA CX Inspection tab under Service Policy Rules
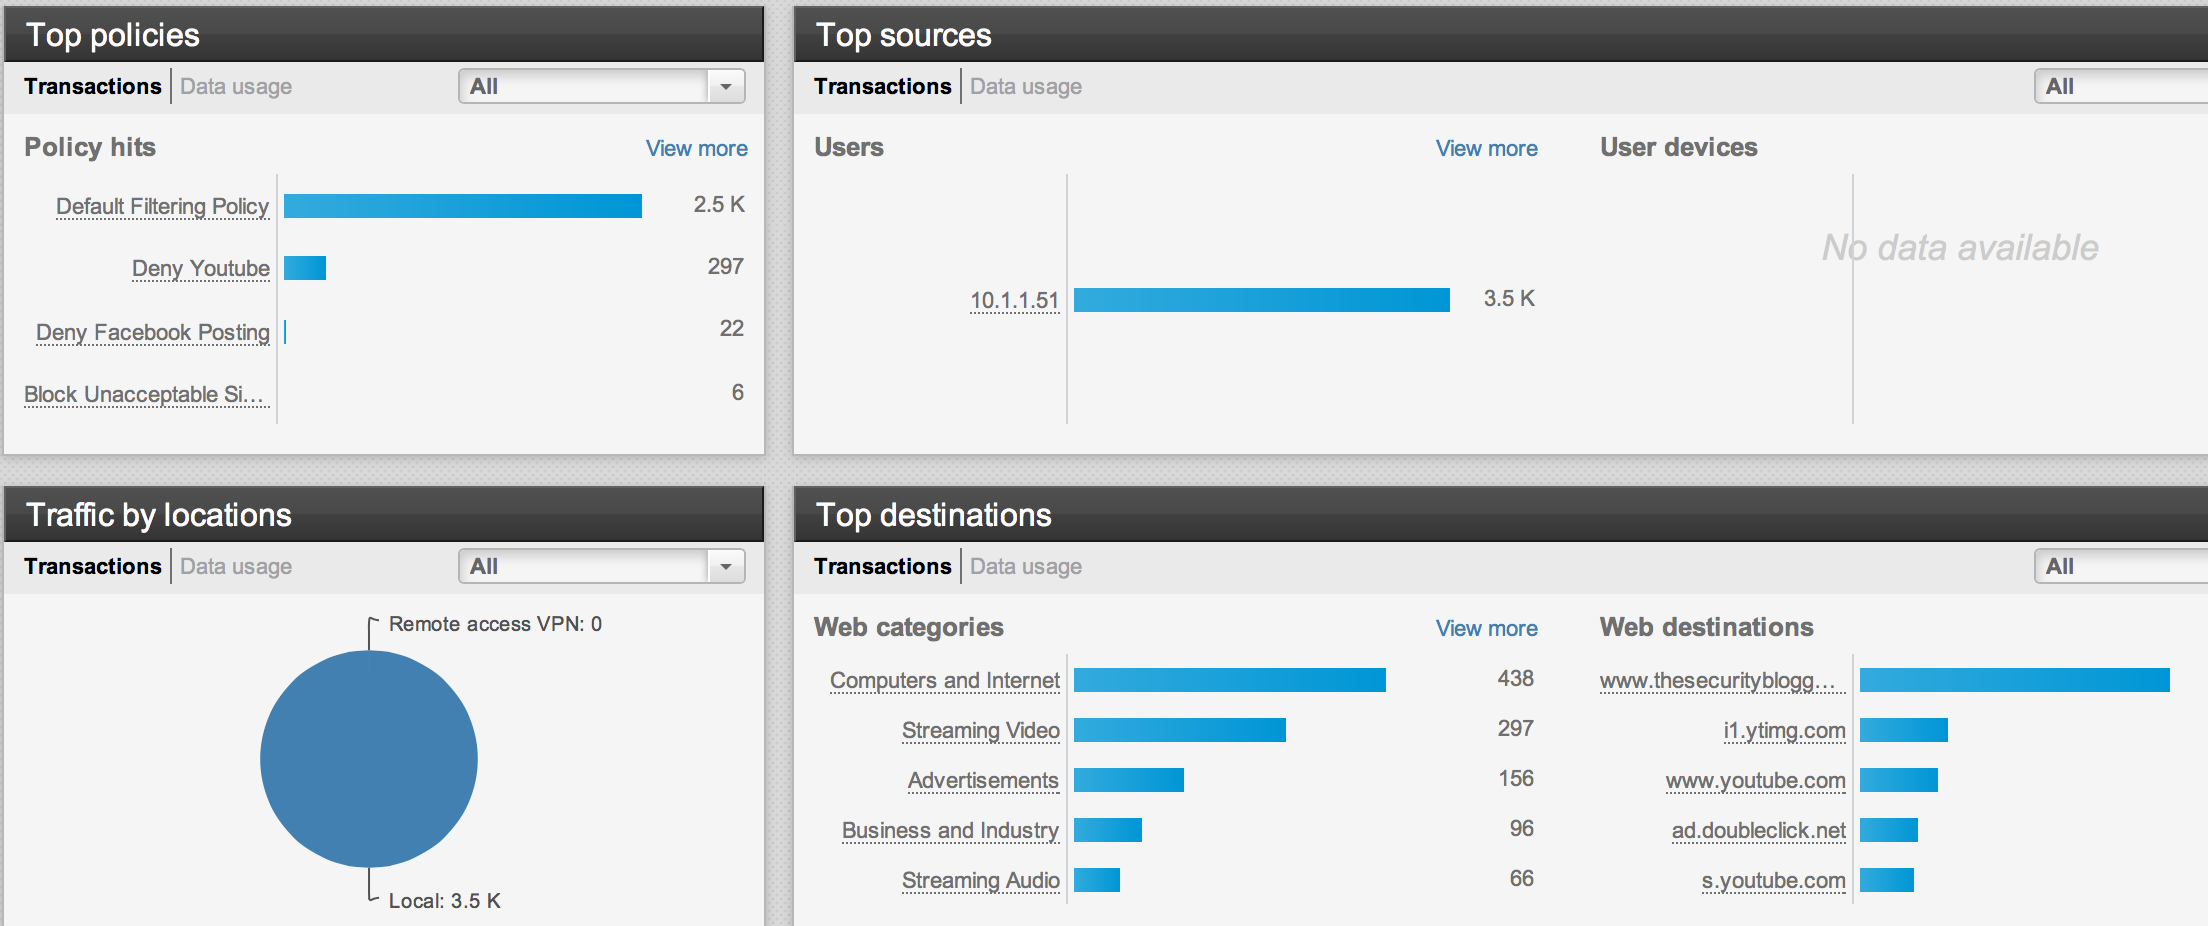
The CX GUI has five major tabs in the local PRSM GUI. The Dashboard tab showcases a breakdown of network traffic including Internet sources, destinations, category violations, malicious traffic, etc. The next screenshot is just a sample of the wealth of data obtained about user traffic.
Example Reports On The ASA CX Dashboard Page
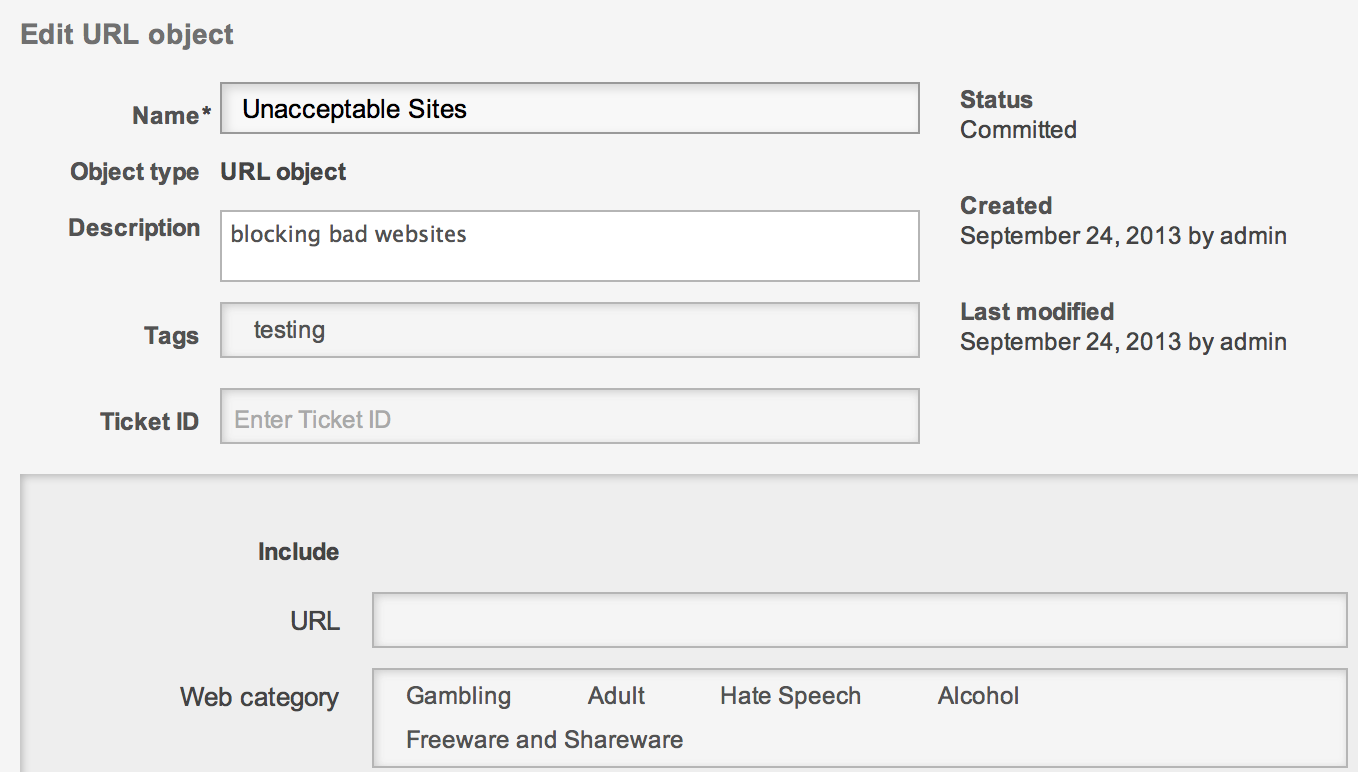
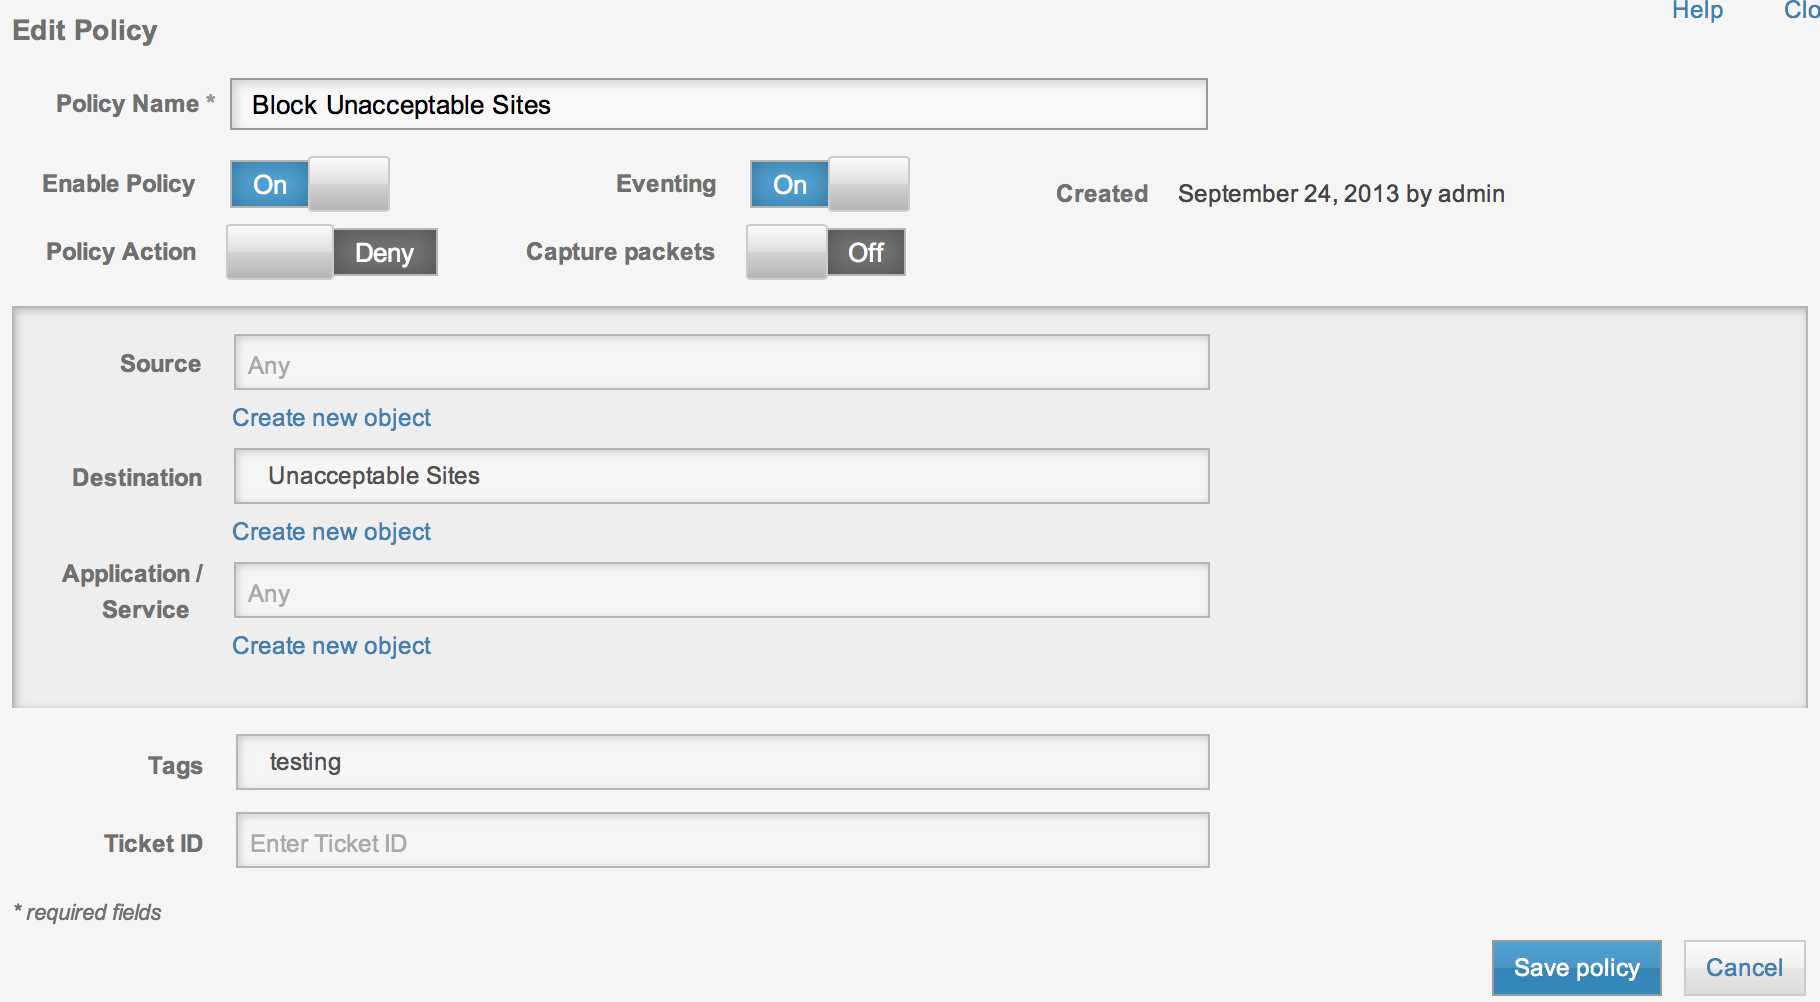
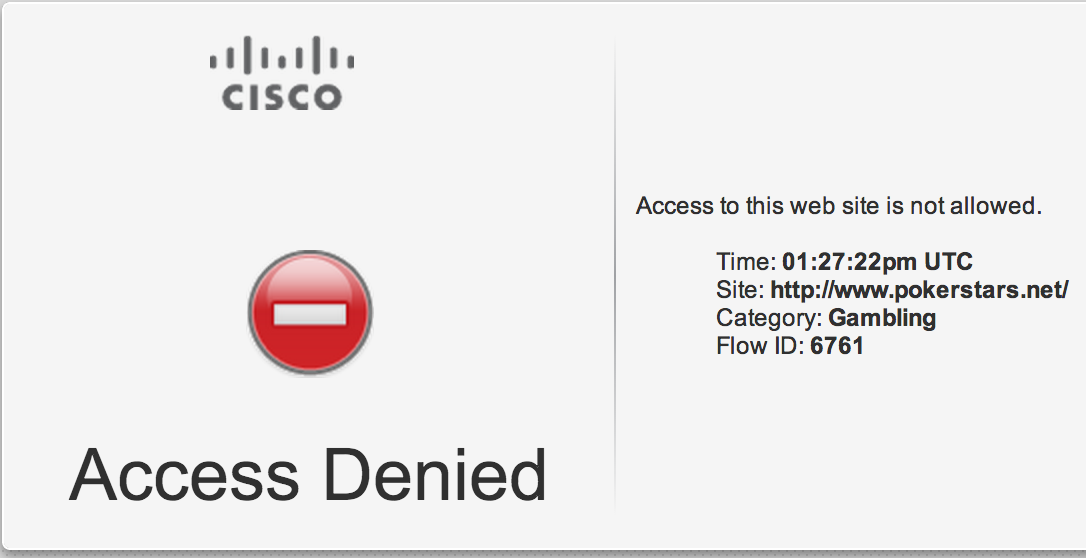
The Policies tab is where you can create policies such as denying websites, applications within websites, block file types such as FTP, etc. To build a simple policy, click the Policies tab > select objects and choose I want to add a url object. Give it a name and put a word in Tags so you can easily search for it later. Under Web category, select some categories to block and click save object. Now go to the Policies tab > select policies and hover over Access to add a new policy. Give it a name, select to block action and for destination, choose the object you just created. Click save policy. You must also commit the changes on the top right before they become active. In my example, I try accessing pokerstars.com and it gets blocked.
Creating a URL object for blocking unwanted websites
Creating a Policy to enforce blocking unwanted websites
Denied access when accessing gabling website
You can also do things like create a policy for stopping applications such as YouTube within Facebook as shown.
Youtube Video in Facebook not working when blocked by CX
ASA CX offers a nice blend of security and application visibility. ASA CX doesn’t offer the security scanning features or botnet traffic monitoring features available with Cisco’s Web Security Appliance however its a strong option for those looking to add application layer visibility and web security to their Firewall. I’ll post about managing multiple ASA CX solutions in a later post.



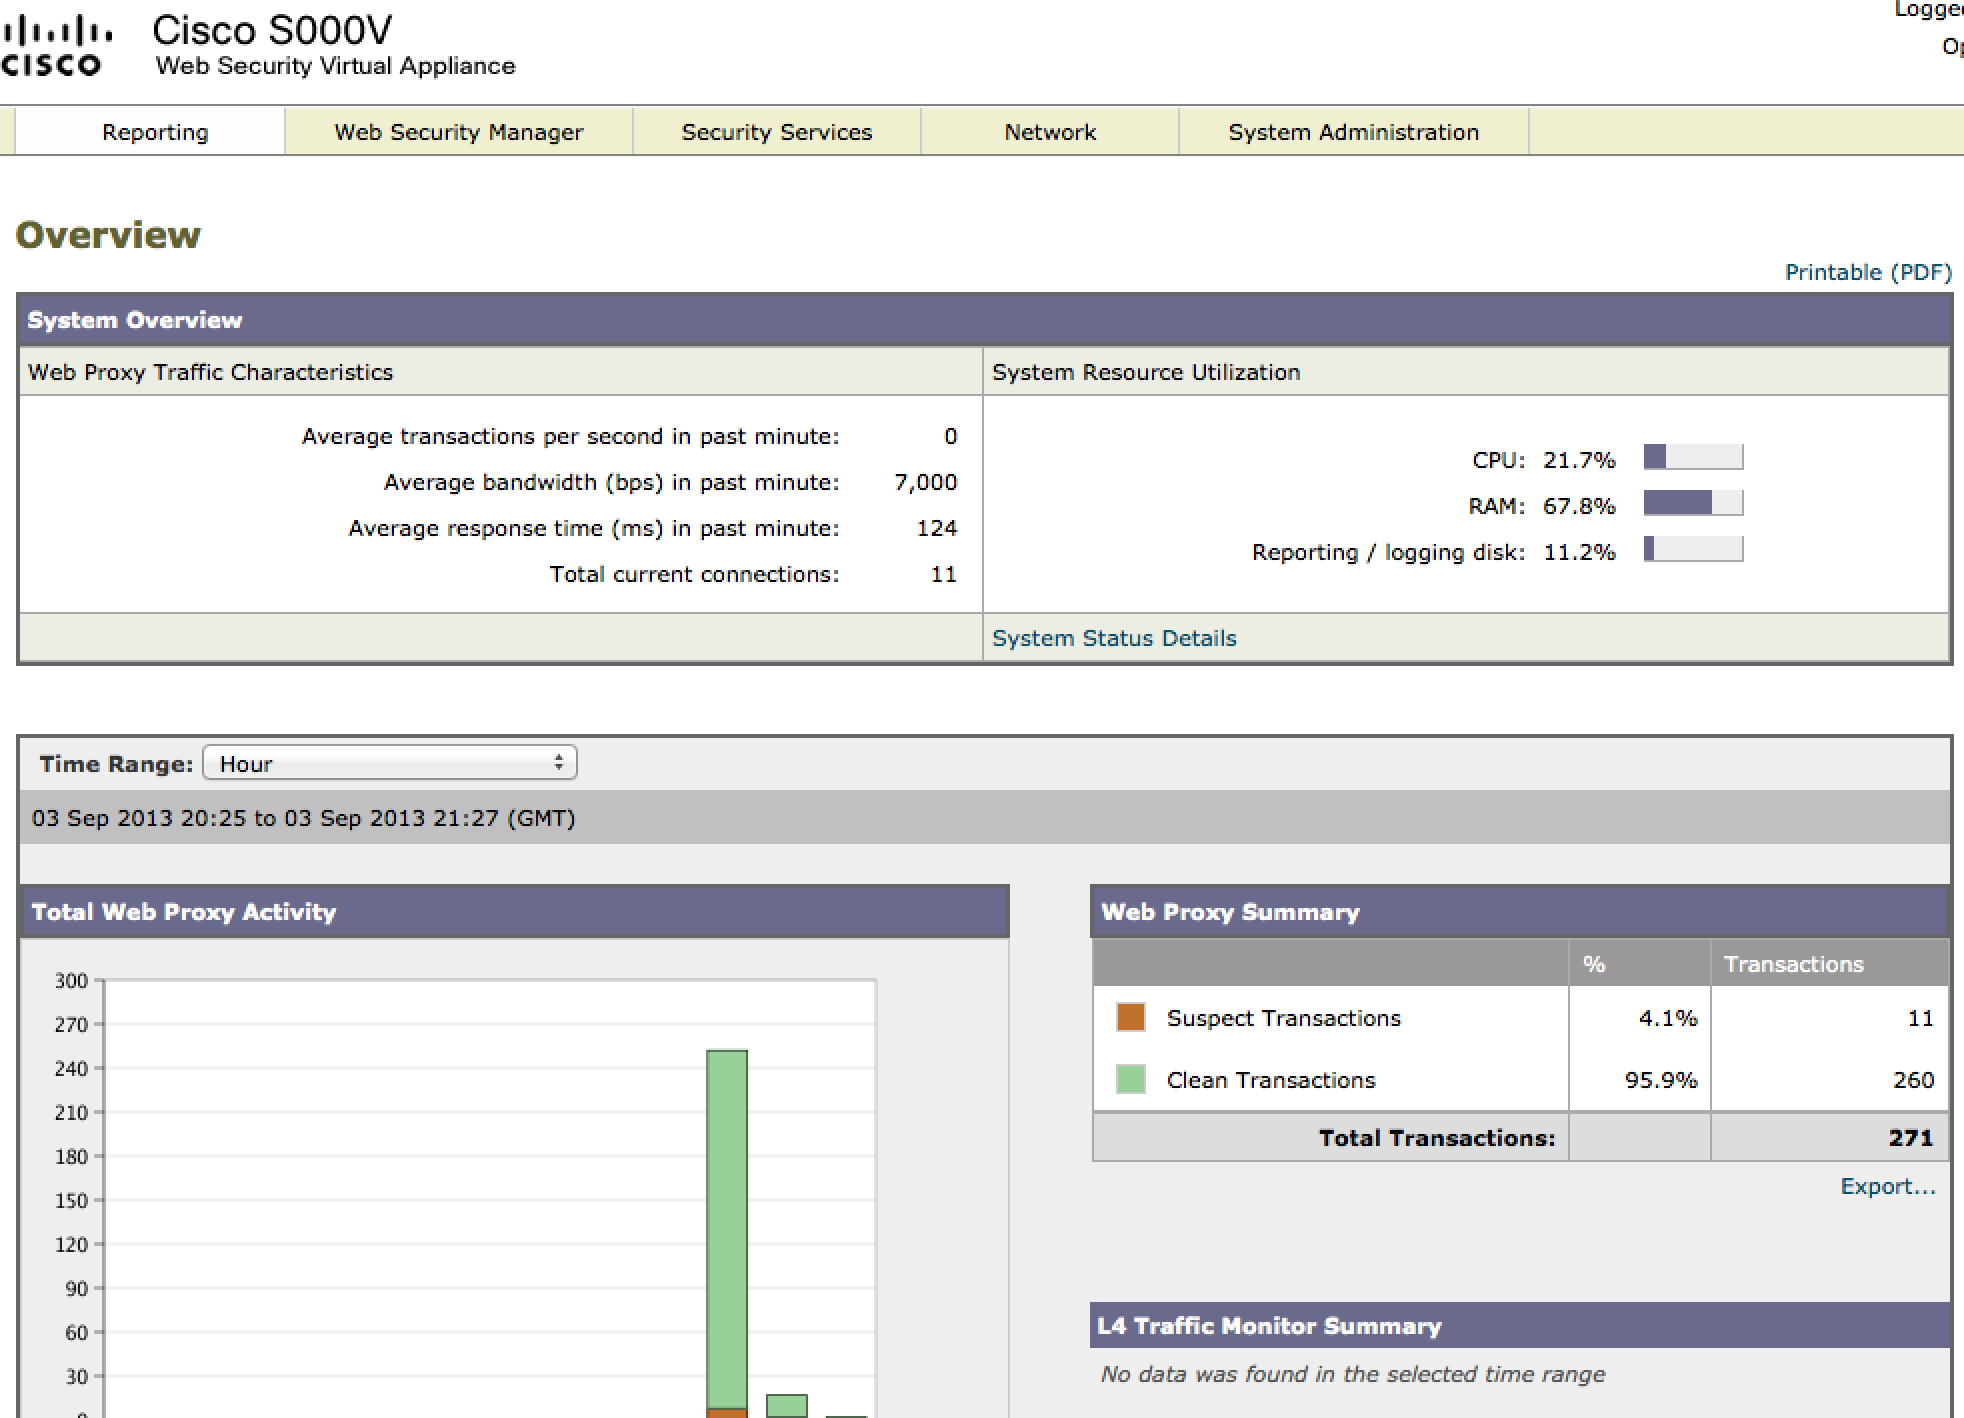
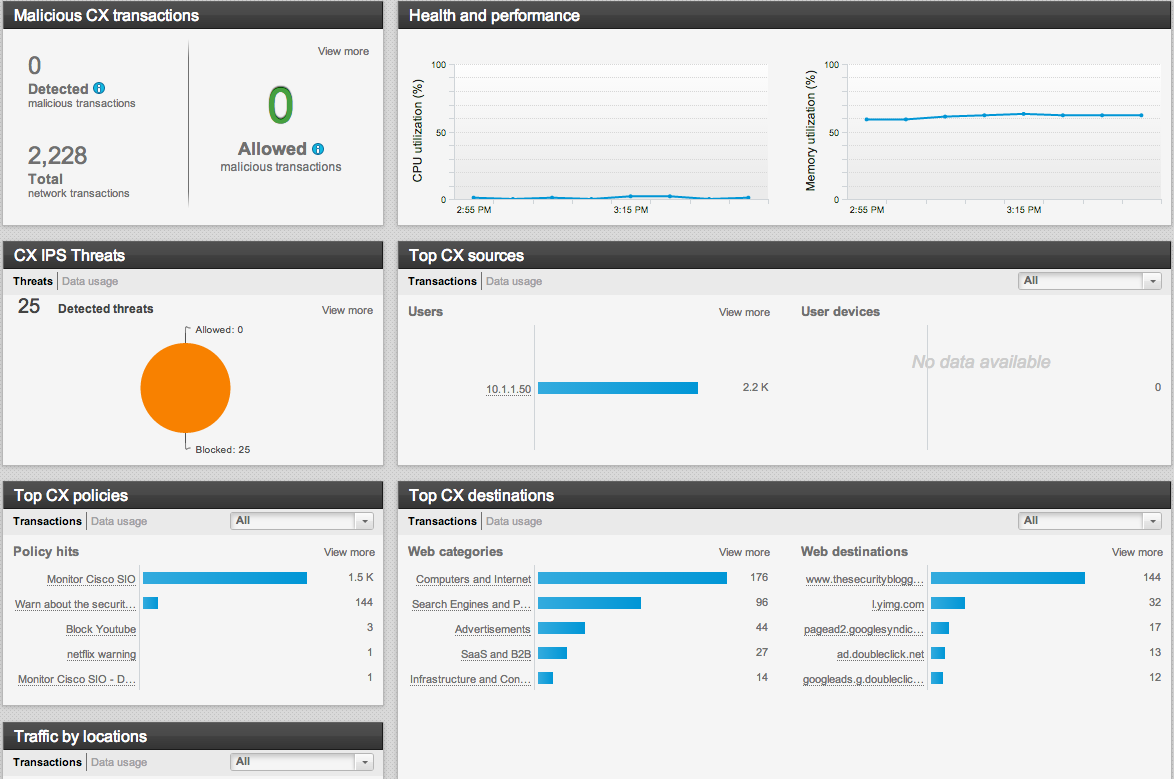

NOTE: As of Oct 2013, ASA CX has IPS along with visibility and reputation security.
Is there any way to send syslog messages from ASA CX module or access them using a script using scp of ftp to grab the logs ?
Hi Antonio. There are some syslog capabilities however more should be coming with the next release. You can find the current options here -> http://www.cisco.com/c/en/us/td/docs/security/asacx/9-2/user/guide/b_User_Guide_for_ASA_CX_and_PRSM_9_2/prsm-ug-asa-syslog.html